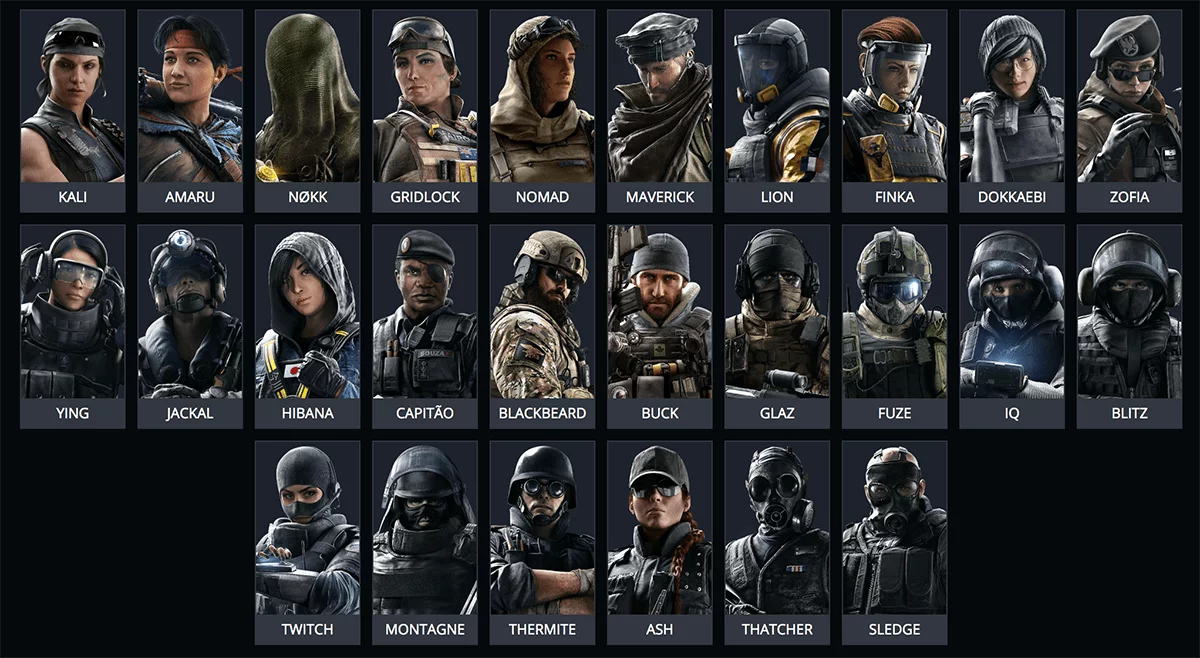
Rainbow Six Siege’s heart beats through its diverse roster of operators, each bringing unique tactical abilities that transform every match into a chess game of destruction and defense. With over 70 operators available in 2025, mastering their individual strengths, synergies, and counters becomes the dividing line between casual players and ranked champions. This comprehensive guide breaks down every operator category, highlighting essential picks for climbing the competitive ladder and understanding the meta that defines modern Siege gameplay.
-
Understanding Operator Categories Attackers and defenders serve fundamentally different purposes, but both roles revolve around information gathering, area denial, and strategic utility. Attackers focus on breaching reinforced walls, gathering intelligence, and disabling defender gadgets. Defenders concentrate on fortifying objectives, denying entry, and wasting attacker time through clever positioning and utility usage. Each operator’s value stems not from raw firepower, but from how their unique abilities complement team strategies and counter specific threats.
-
Essential Entry Fraggers Entry fraggers create the initial breach, secure map control, and establish the foundation for successful attacks. Ash remains the gold standard with her M120 CREM breaching rounds, capable of destroying defender gadgets while creating new sightlines. Her R4-C assault rifle delivers exceptional damage output, making her perfect for aggressive players who thrive on fast-paced engagements. Sledge offers a more methodical approach with his tactical breaching hammer, creating vertical play opportunities through floors and ceilings while maintaining access to powerful assault rifles like the L85A2.
Zofia’s KS79 LIFELINE launcher provides both impact grenades and concussion rounds, allowing her to clear defender gadgets while disorienting enemies behind cover. Her withstand ability, while situational, occasionally provides clutch potential in desperate moments. These operators excel at creating the initial breach, but success depends on proper drone usage and communication with support players who can capitalize on created openings.
- Hard Breach Specialists Hard breachers represent the backbone of any coordinated attack, capable of destroying reinforced walls and hatches that defenders rely upon for protection. Thermite’s EXOTHERMIC charges create massive entry points through reinforced surfaces, fundamentally altering map control dynamics. His 556XI assault rifle provides solid mid-range performance, making him effective at holding angles after successful breaches.
Hibana offers more flexible breaching options with her X-KAIROS pellets, capable of creating small peek holes, destroying hatches, or opening full wall sections depending on deployment patterns. Her TYPE-89 assault rifle boasts excellent accuracy, rewarding precise aim over spray-and-pray tactics. Maverick brings surgical precision with his SURI torch, quietly creating murder holes in reinforced walls while remaining immune to traditional counter-breaching methods like Bandit’s shock wires or Kaid’s electroclaws.
- Intelligence and Support Operators Information warfare defines high-level Siege gameplay, making intelligence operators invaluable for coordinated teams. IQ’s Electronics Detector reveals all electronic gadgets through walls, exposing defender positions while highlighting trap locations and camera placements. Her 552 Commando provides excellent stopping power, though her true value lies in neutralizing defender utility before it becomes problematic.
Twitch’s Shock Drone delivers surgical precision in destroying defender gadgets, from Bandit’s batteries to Mira’s black mirrors. Her F2 assault rifle remains one of the most powerful weapons in the game, featuring high fire rate and minimal recoil when properly controlled. Dokkaebi disrupts defender coordination with her Logic Bomb calls, forcing enemies to choose between revealing their positions or remaining vulnerable to sound-based attacks while disabling their cameras.
- Defensive Anchors and Site Holders Anchor operators form the defensive backbone, holding critical angles while providing utility that delays attacker progress. Rook’s Armor Plates provide crucial damage resistance, often determining survival in close firefights. His MP5 submachine gun offers excellent accuracy with minimal recoil, making him perfect for holding long angles on sites like Bank’s CEO office or Consulate’s Garage.
Doc’s Stim Pistol enables ranged healing and self-revive capabilities, extending defender longevity during extended engagements. His ability to overheal teammates creates significant advantages in firefights, particularly when combined with Rook’s armor plates. Mira’s Black Mirrors revolutionize site defense by providing one-way visibility through reinforced walls, allowing defenders to gather intelligence and secure kills while remaining protected from return fire.
- Roamers and Map Control Defenders Roamers specialize in wasting attacker time, securing map control, and creating flanking opportunities through unpredictable movement patterns. Jäger’s ADS-MKIV “Magpie” systems neutralize attacker grenades and projectiles, protecting defenders while they hold aggressive angles. His 416-C Carbine provides excellent damage output with manageable recoil, making him effective at both close and medium ranges.
Bandit’s CED-1 Shock Wires electrify reinforced walls, preventing hard breaches while destroying attacker gadgets placed against surfaces. His MP7 submachine gun features high fire rate and low recoil, perfect for quick peeking strategies. Lesion’s Gu Mines create area denial through invisible poison traps that damage and disorient attackers while providing sound cues about enemy positions.
- Trap and Area Denial Specialists Trap operators excel at controlling attacker movement through invisible threats that punish careless advancement. Frost’s Welcome Mats instantly down attackers who step on them, creating easy interrogation opportunities or forcing teammates to expose themselves during rescue attempts. Her Super 90 shotgun delivers devastating close-range damage, making her deadly in tight corridors and stairwells.
Kapkan’s EDD traps attach to doorways and windows, exploding when attackers pass through entry points. His 9x19VSN submachine gun provides solid performance across all engagement ranges. Ela’s Grzmot Mines concuss enemies within their blast radius, disorienting attackers while providing sound cues about enemy positions. Her Scorpion EVO 3 A1 features high fire rate with significant recoil, rewarding players who master its spray pattern.
- Meta Evolution and Operator Synergies The competitive meta constantly evolves through balance updates, new operator releases, and map rotations that favor different strategies. Understanding operator synergies becomes crucial for team success, such as combining Thatcher’s EMP grenades with Thermite’s breaching charges to disable Bandit’s batteries. Similarly, coordinating Dokkaebi’s Logic Bomb with Jackal’s footprint tracking creates devastating hunting parties that eliminate isolated defenders.
Recent meta shifts emphasize utility destruction and anti-roaming strategies, making operators like IQ, Twitch, and Jackal increasingly valuable. The introduction of new operators like Fenrir and Brava continues reshaping defensive and attacking strategies, requiring constant adaptation and experimentation with different operator combinations.
- Choosing Operators for Ranked Success Successful operator selection depends on map knowledge, team composition, and personal playstyle preferences. Beginners should focus on versatile operators like Sledge, Ash, Rook, and Jäger who provide straightforward utility while teaching fundamental mechanics. Intermediate players benefit from mastering specialist roles like hard breachers and dedicated roamers who require deeper map knowledge and coordination skills.
Advanced players should understand when to break conventional wisdom, selecting off-meta operators that exploit specific map weaknesses or counter popular strategies. The key lies not in mastering every operator, but in understanding how each operator contributes to overall team objectives while maintaining proficiency with several options in each category.
Mastering Rainbow Six Siege’s operator roster represents a journey of continuous learning and adaptation. Each operator brings unique tactical considerations that extend far beyond their individual abilities, creating complex interactions that define the game’s strategic depth. Success comes not from memorizing statistics or following rigid meta prescriptions, but from understanding how operator abilities create opportunities for teamwork, map control, and strategic execution that elevates individual performance into coordinated victory.